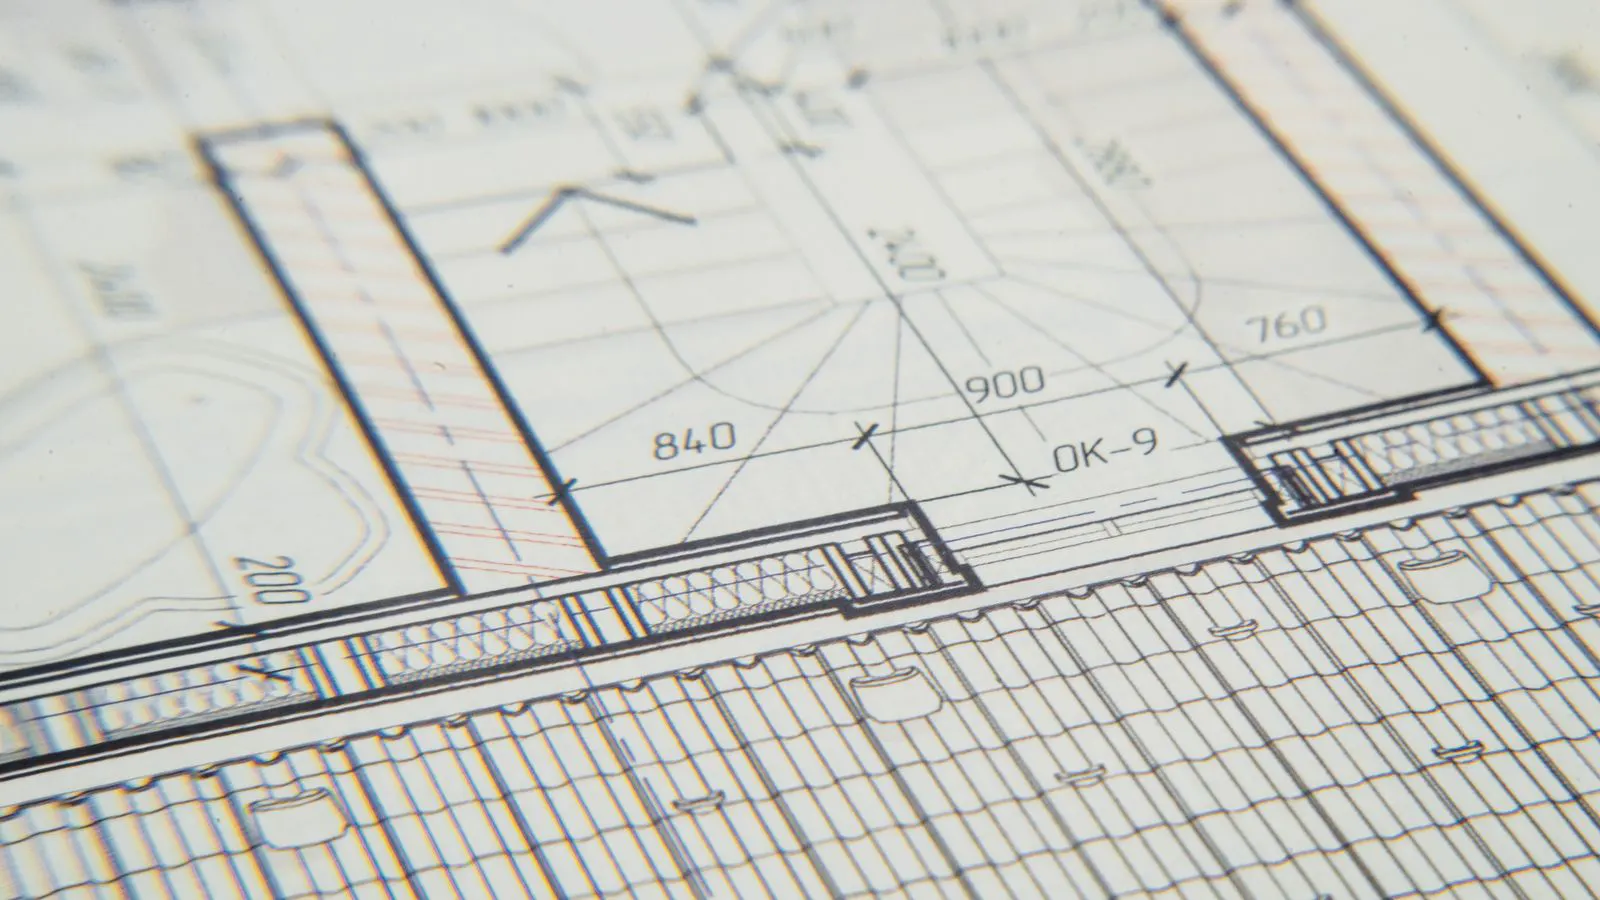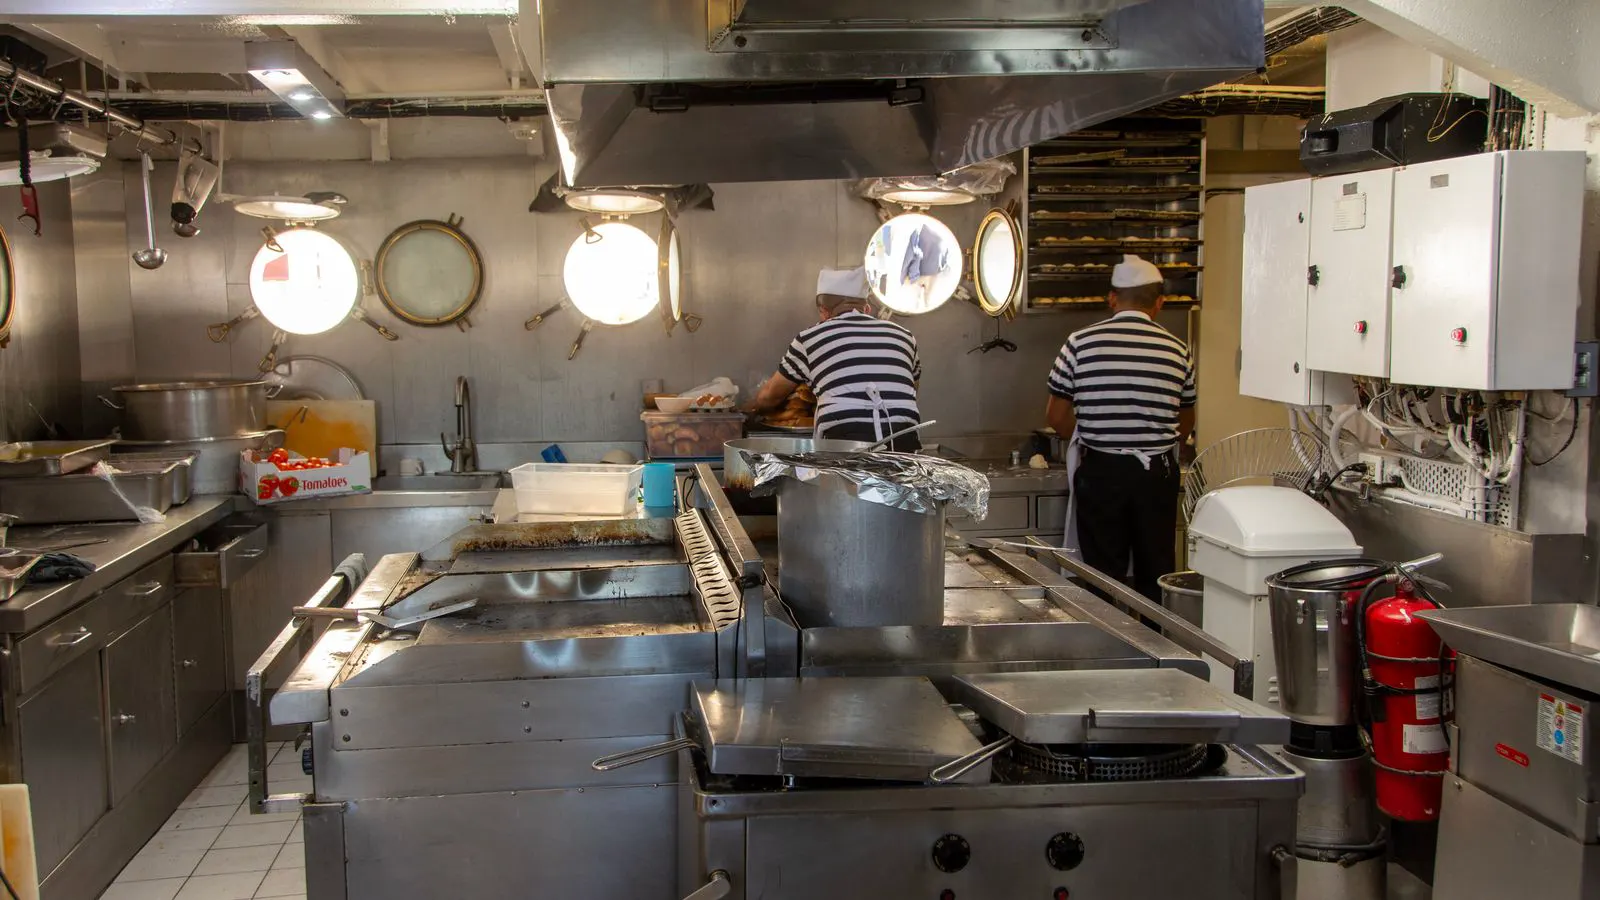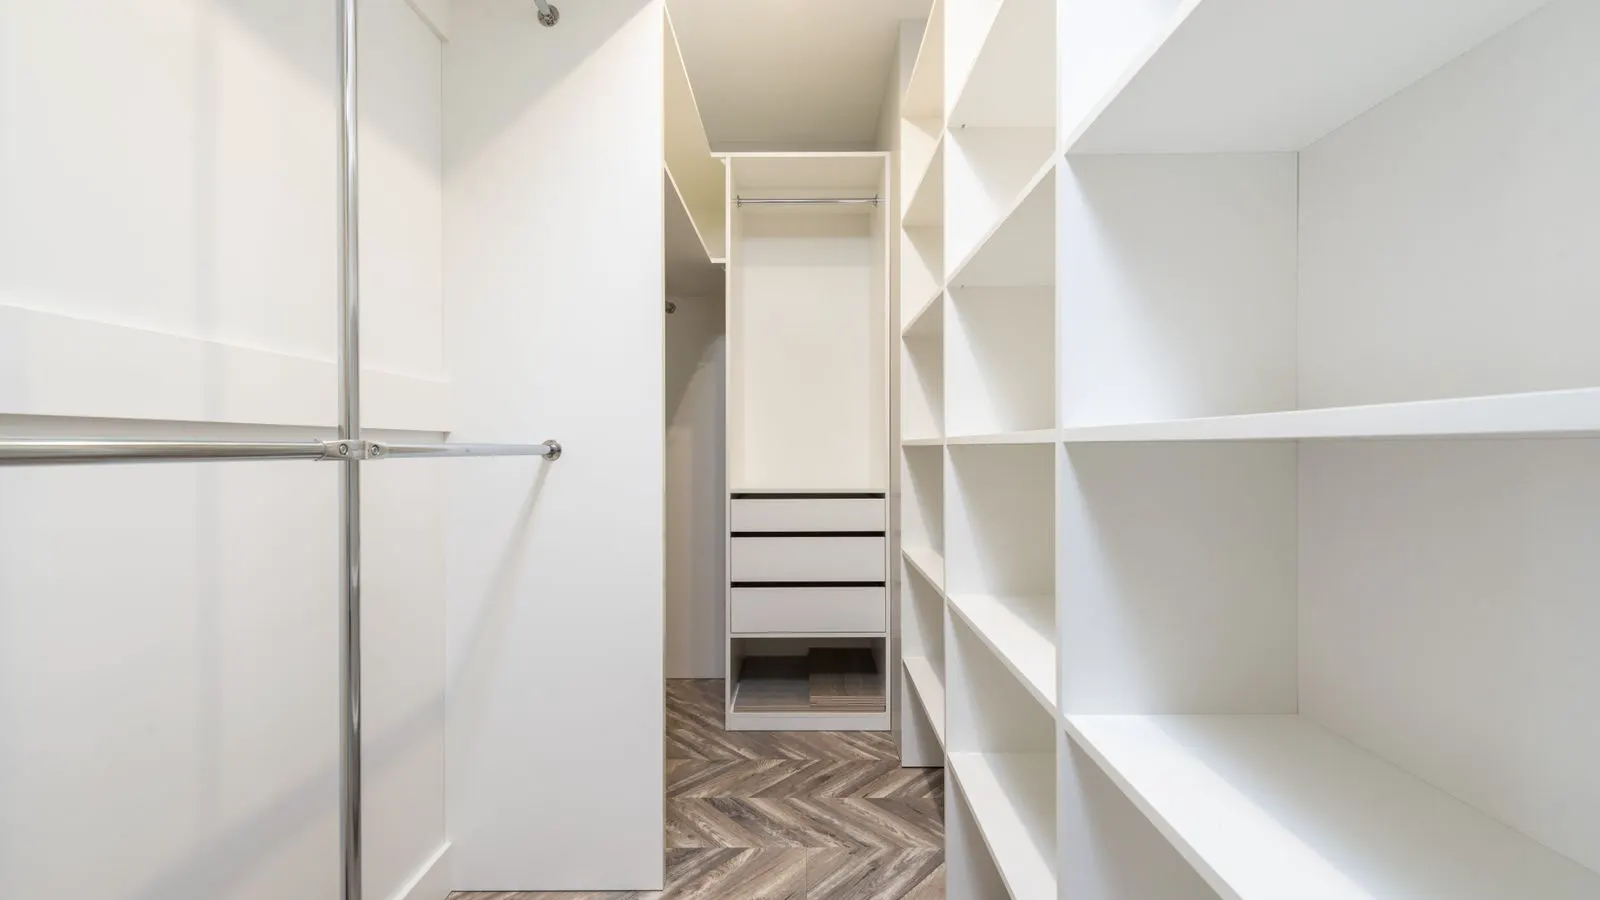
A correct walk-in cooler size balances daily throughput, storage depth, and door swing clearance. This guide provides a practical method to calculate required cubic feet and linear wall space based on specific kitchen workflows and inventory turnover rates.
- Calculate required capacity by multiplying daily usage by storage days, then adding a buffer for peak demand.
- Measure door swing and clearance to ensure the walk-in cooler fits the designated space without obstructing workflow.
- Use linear wall space to determine door width and internal shelving layout for efficient access.
- Verify electrical load and ventilation requirements before finalizing the dimensions and unit selection.
- Account for product packaging and pallet dimensions when planning shelving and floor space inside the cooler.
Start with Daily Usage, Not the Room
Most kitchen operators start with the empty space in the building and work backward. That approach creates problems. A unit that fits the wall but holds too little inventory forces constant restocking. A unit that holds too much becomes a dead zone where items rot in the back.
Start with the product. List every item that needs refrigeration. Separate them by category: raw proteins, dairy, produce, prepared foods, and beverages. For each category, determine the average daily usage in pounds or gallons. Multiply that number by the number of days you want to store on hand.
A two-day buffer is a common baseline for high-turnover kitchens. A three-day buffer makes sense for lower-volume locations or those with unreliable supply chains. Add the sum of these daily requirements. This total represents your minimum cubic feet of storage.
Do not forget the packaging. A case of milk takes up more space than the liquid itself. A tray of raw chicken requires ventilation and specific shelving that reduces usable space. Always measure the physical dimensions of your standard cases, trays, and pallets.
Consider the temperature of the incoming product. If your supplier delivers produce at ambient temperature, that product needs to be moved quickly to the cooler to prevent spoilage. If you store ice cream, you need a freezer, not a cooler. A cooler that cannot drop low enough will fail to hold frozen items safely. A freezer that runs too cold will freeze the liquid in a milk carton, expanding the volume and potentially cracking the container.
Plan for seasonal changes. A restaurant that serves heavy winter soups will need more capacity for root vegetables and cured meats than one that serves light summer salads. If you operate year-round, size the unit for your peak month. A unit that is tight in January will fail by March when the menu changes.
Determine the Correct Footprint
Once you have the total cubic feet, convert that number into a rectangular footprint. Walk-in coolers come in standard depths and widths. The depth is usually limited by the door swing and the need to reach the back wall.
A standard door swing requires a clear area outside the unit. If the door opens inward, you need space inside. If it opens outward, you need space in the kitchen. Most professional kitchens use outward-opening doors to maximize internal storage.
Calculate the width by dividing the total cubic feet by the depth. For example, if you need 200 cubic feet and the depth is 8 feet, the width must be 25 feet. That is a large unit. Most kitchens break this into two or three smaller units.
Two smaller units are often easier to fit into a kitchen layout. They allow for more door access points. They also make it easier to isolate a section if a compressor fails. Plan for at least three feet of clearance on the sides of the unit for airflow and service access.
Check the ceiling height. Standard walk-in doors are usually 82 inches high. If your ceiling is lower, you need a custom door height. If your ceiling is higher, the extra vertical space is useful for bulk storage, but only if you have a ladder or step stool to reach the top.
Consider the floor. Walk-in coolers are heavy. The floor must support the weight of the unit plus the inventory. A standard walk-in cooler can weigh several thousand pounds when full. If the floor is a mezzanine or an upper level, verify the load rating with a structural engineer.
Consider Door Width and Traffic Flow
The door is the most critical dimension after the footprint. A door that is too narrow slows down staff. A door that is too wide wastes space and increases energy loss.
A standard walk-in cooler door is 36 inches wide. This fits a standard full-size pallet or a large catering cart. If your kitchen relies on heavy palletized deliveries, a 42-inch or 48-inch door is necessary.
Measure the path from the receiving area to the cooler. Ensure that staff can push a loaded cart through the door and into the unit without hitting the walls. Check the clearance on the opposite side of the door swing. A door that hits a wall or a shelf rack is a daily nuisance.
Multiple doors are a better solution than one wide door. Two 36-inch doors on opposite sides of the unit create a smooth workflow. One door for incoming deliveries, one for outgoing prep. This reduces congestion during rush hours.
Look at the door mechanism. A standard manual door requires force to open and close. In high-volume kitchens, an automatic door can be a significant investment. It seals the unit more tightly, reducing energy loss. It also allows staff to push a cart through without stopping to open the door. However, automatic doors require power and maintenance. A manual door is cheaper and more reliable if the traffic is light.
Check the gasket. A worn gasket lets warm air into the cooler. This increases energy costs and causes condensation on the floor. Inspect the gasket during the selection process. Replace it if it is cracked or compressed.
Evaluate Internal Shelving and Access
Internal space is only useful if staff can see and reach the food. Deep shelving creates blind spots. Items pushed to the back are forgotten.
Use open shelving for high-turnover items. Shelves should be adjustable. A standard shelf depth is 12 to 18 inches. Deeper shelves are only necessary for bulk items that are not moved frequently.
Install a small sign on the top shelf. Use a “First In, First Out” system. Label the date of receipt on the top shelf. This habit prevents spoilage and reduces waste.
If you store raw proteins, separate them from ready-to-eat foods. Use a dedicated lower section for raw meats to prevent cross-contamination. This requires careful planning of the internal layout.
Consider the material of the shelves. Galvanized steel is standard. It resists rust and is easy to clean. Plastic shelves are lighter and do not rust, but they can crack under heavy loads. Avoid wooden shelves. They absorb moisture, grow mold, and are difficult to sanitize.
Add a drip tray under the shelves. Condensation is normal in a cooler. A drip tray catches the water and prevents it from pooling on the floor. This reduces slip hazards and keeps the floor dry.
Check Electrical and Ventilation Requirements
A walk-in cooler is not just a box. It is a complex mechanical system. The compressor, condenser unit, and evaporator coils all require specific clearances and power loads.
The condenser unit is usually mounted on the exterior wall or on the roof. It needs airflow clearance. Do not block the vents with storage racks or building materials. The electrical load can be significant. Check with your electrician to confirm the circuit capacity.
Ventilation inside the cooler is critical. Stagnant air causes hot spots and uneven cooling. The evaporator fan must have a clear path to the back wall. Do not stack items higher than the fan intake.
If the kitchen is located in a hot climate, the unit may need a larger condenser. This increases the power draw and the cost of installation. Plan for this in your budget and space allocation.
Check the thermostat. A digital thermostat allows for precise temperature control. It can record temperature fluctuations over time. This is useful for troubleshooting and for food safety audits. A mechanical thermostat is cheaper but less precise. It may drift out of calibration over time.
Consider the backup power. If the kitchen operates for long hours, a power outage can spoil inventory. A backup generator or a battery backup system can keep the unit running during an outage. This is a significant cost, but it can save thousands in spoiled food.
Criteria for Final Selection
Use the table below to evaluate your options. This list covers the key factors that affect performance and daily operation.
| Criterion | What to look for | Why it matters |
|---|---|---|
| Total Capacity | Cubic feet based on daily usage and buffer days | Prevents understocking and reduces restocking frequency |
| Door Width | 36 inches for carts, 42-48 inches for pallets | Matches your primary delivery method and workflow |
| Clearance | 3 feet on sides, 12 inches behind condenser | Ensures proper airflow and service access |
| Shelving Depth | 12 to 18 inches for standard items | Maximizes visibility and prevents hidden spoilage |
| Electrical Load | Confirmed amperage and circuit size | Prevents tripping breakers and equipment failure |
| Temperature Range | 34 to 40 degrees Fahrenheit for coolers | Maintains food safety and product quality |
Decision Checklist
Before you order the unit, run through this checklist.
- Calculate the total cubic feet needed for your inventory.
- Measure the available space and subtract the required clearances.
- Determine the number and width of doors based on traffic flow.
- Plan the internal shelving layout for specific product categories.
- Verify the electrical load with your electrician.
- Confirm the condenser unit location and ventilation path.
- Ensure the unit fits the building codes and fire regulations.
A walk-in cooler is a long-term investment. A unit that is slightly too small will cause daily stress. A unit that is slightly too large will waste energy and space. The goal is a balance. Measure your usage, respect the physics of the space, and choose a unit that fits your operation, not just the hole in the wall.
Frequently asked questions
How do I calculate the exact cubic feet needed for my kitchen?
Multiply your average daily usage of refrigerated items by your desired number of storage days. Add this to the packaging volume and add a buffer for peak demand.
Can a walk-in cooler be larger than my kitchen space?
No. The unit must fit within the allocated footprint, including clearances for airflow and door swing. A unit that is too large will obstruct workflow and violate safety codes.
What is the difference between a cooler and a freezer?
A cooler operates at temperatures above freezing, typically 34 to 40 degrees Fahrenheit. A freezer operates below 0 degrees Fahrenheit. They serve different food categories and require different energy systems.
Do I need a separate condenser unit for every cooler?
Yes. Each walk-in cooler requires a dedicated condenser unit to reject heat from the refrigeration cycle. This unit must have clear airflow access.
How often should I check the walk-in cooler temperature?
Check the temperature at least once per shift. Record the readings in a log. A consistent temperature is a sign of a properly functioning system.